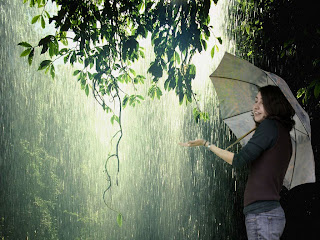
In this photograph I used techniques we had learned in class. The girl was masked and then I added the background.
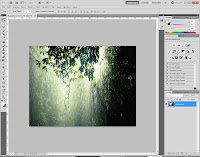 This is the original image I found online
I started off by bringing it into Photoshop
http://spad1.files.wordpress.com/2010/03/rain_forest_tropic.jpg
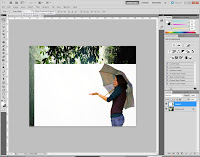
Here is the link where I found this image.
https://blogger.googleusercontent.com/img/b/R29vZ2xl/AVvXsEjO5p5Zt-KHoR8gh35eBpoBPnzpgls3LSyTFDCwUyqkasJUJbnSvjgmzIeilluAgy8VPV24j9Ivy6yU5lTnIoM-zZzhSJTvygLCOdqu7xJCfDkuNEf-DqxYRx-e47WYavVb6TOUXuSo2ebk/s1600/GirlWithUmbrella_ingorrr4.png
I brought this image onto a new layer.
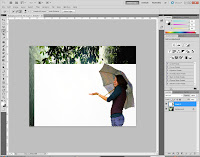 I used the quick selection tool to quickly select the girl since she was already in a white background.
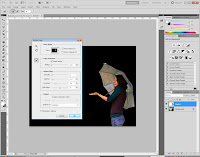 Once I did the quick selection around the girl I used the refine edges to refine the edges and remove some of the white that was still in the selection.
After Refining,feathering and smoothing the selection I applied a mask on the girl's image. I applied the masking because if i wanted to remove or add I could go back and make adjustment within the mask and not erase anything from the original image of the girl with the umbrella.
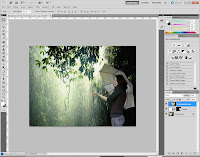 As you can see in the previous image the girl and the background have different contrast therefore making the girl seem out of place and photo-shopped. So in order to make her fit more with the background I made a copy of the background and applied a lipping mask ti the girl so it wouldnt affect the entire image, just the girl. I then lowered the opacity to 65%.

No comments:
Post a Comment