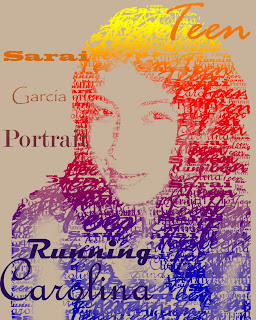
 I did this in a previous class and I wanted to share how it was done.
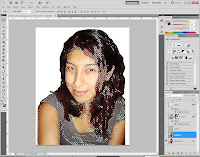 This was the original image i brightened it by adjusting the contrast in image ->adjustments -> Brightness/contrast. Then I went into color range and selected shadows.
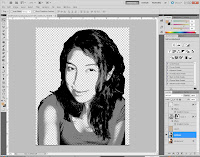
After making the shadow selection and copying it into a new layer I went back and made another selection this time using mid-tones which I also copied onto an new layer then I merged them and this is how it looked.
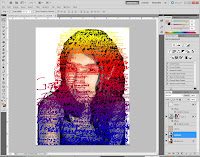 I then used text brushes I had made and randomly painted it all over the portrait.
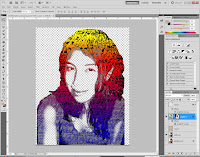 Then I activated the layer painted with brushes, and click on the Add layer mask at the bottom of the Layer palette to add a layer mask.
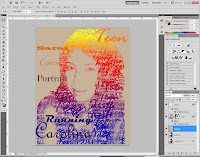 At the end I added a background layer which I filled with a beige color to make the text stand out.
These were the steps I took to make this portrait but I was able to find a link that is more detailed on how to accomplish this kind of text portrait.
http://www.psdtop.com/blog/photo-effects/typographic-portrait-like-grammys-posters/
very impressive!
ReplyDelete